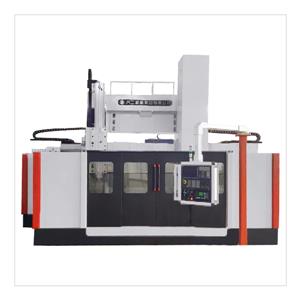
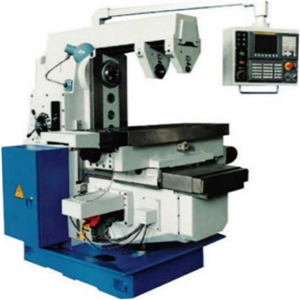
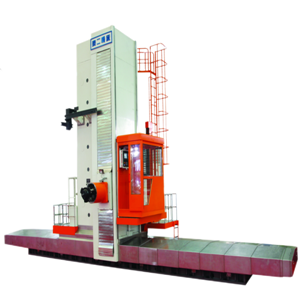
The Solution to the Surface Ripple of Workpiece in Horizontal Lathe Machining
There are mainly three solutions to the workpiece surface ripple during the processing of horizontal lathe:
1.Solutions to equidistant ripple
(1) Use the inspection rod, feeler gauge or knife edge ruler and other tools to measure the coaxiality error between the smooth rod and the inner hole of the gear. If the error is large, the guide plate slightly thicker than the error value can be bonded to the flat guide surface of the slide plate, and then the error can be reduced through joint research, training and scraping to make the smooth rod and gear hole concentric. It should be noted that in order to ensure that the bonding thickness of the angle guide rail can meet the lifting requirements of the chute and eliminate the error in the horizontal direction, professional technicians must be arranged to carry out strict and detailed calculations.
(2) Measure the bending of the light bar. That is, for two V-shaped irons, after adding a smooth bar, measure their bending. In this process, the dial indicator can be used as a measuring instrument. If the indicator head of the dial indicator contacts the middle position of the bus bar on the optical bar first, and then rotates the optical bar, then the number read from the dial indicator is divided by 2 to be the bending degree of the optical bar. In order to improve the accuracy of the measurement results, the adjacent positions in the middle of the bus on the light bar can be measured separately, so that the maximum bending of the light bar can be understood while the highest bending point of the light bar is clear. After the bending degree of the light bar is defined, the corresponding method can be used to correct the light bar, so as to solve the problem of force bending of the light bar.
(3) Apply the lead wire pressing method between the gear and the rack. Namely, use grease to stick a soft lead wire with a diameter of 1.25~1.50 times of the top clearance on the gear, and then apply force to the gear to make it rotate. When the lead wire appears on the interface between the gear and the rack, it will be deformed under the influence of the extrusion force. The thickness of the lead wire is the clearance value between the gear and the rack. Therefore, it is only necessary to measure the thickness of the lead wire with a vernier caliper to adjust the position of the rack, so that the meshing state between the gear and the rack can be restored.
(4) For equidistant corrugation of workpiece section, the following 3 steps can be taken to solve it.
1) Straighten the middle carriage lead screw first, and then use the back compaction method for treatment.
2) The center of the lead screw and the center of the screw nut shall be strictly unified to keep them consistent, and then the allowance and scraping method shall be used for processing.
3) Corresponding adjustment measures shall be taken for the inclined iron to eliminate the guide rail clearance.
2. Solutions to disorderly ripples
(1) To replace the worn bearing in the main shaft, it is necessary to effectively apply the method of error cancellation when installing a new bearing.
(2) Adjust the round nut at the rear end of the spindle, adjust and eliminate the clearance of the plane bearing, housing and other parts, and strengthen the control of the axial displacement of the spindle.
(3) It is mainly used on the CNC boring machine to align the spindle box with the rear bearing hole of the spindle box as the standard to ensure that the front bearing of the spindle box is bored 8~10m larger. After that, the outer diameter of the steel sleeve shall be processed, and sufficient machining allowance shall be reserved at the inner diameter of the steel sleeve. Then, insert the steel sleeve with the help of the cold shrinkage method. When the temperature returns to normal, expand 0.005~0.020mm outward according to the size of the outer ring of the spindle box bearing.
3. Solutions to spiral ripple
(1) Adjust the main shaft bearing to ensure that the radial clearance of the main shaft meets the relevant accuracy standards, so that the axial displacement meets the relevant requirements.
(2) Press the tool to eliminate the looseness. At the same time, the influence of external interference should be eliminated as far as possible. Finally, when selecting the cutter bar, it is necessary to strengthen the control of the rigidity of the cutter bar.
(3) In daily work, the balance of the process system should also be corrected and balanced according to the actual situation; Strengthen the overhaul, maintenance and repair of horizontal lathe, timely find out the potential operating hazards of spindle bearing, cutter and other parts, and take targeted elimination measures; Check the contact between the workpiece and the tool, and then take targeted measures to improve the contact between them.
